BLASTSCAPE CRATERS PT 1Its been a while since I wrote up an update for this gaming table diary. It looks like its been a while for most people taking part in this tale to do an update. Hopefully this might spur some people on.
I have just about completed the Realm of Battle Board itself and just need to paint the hundreds of little skulls and bone piles littered all over it and also finish some shrper highlight drybrushing on the edges of all the rocks. Since I am that close to finishing the table itself I thought it was time to add some difficult terrain to it to make games a little more enjoyable.
In a previous update I mentioned that I had purchased some of the newish Blastscape Craters. These vacuum formed pieces of terrain serve the purpose of difficult terrain and breaking up the board perfectly. They are cheap and cover quite a lot of table real estate making them a very economical way of getting lots of terrain. They also serve the purpose of representing some of the cool table morphing effects found in the Planet Strike 40K supplement. Laserburns, crashed ships and big craters all make a big showing in the supplement and the Blastscape represents these events well.
Upon opening the packet and pulling out its contents it was time to hit them with some roughcoat spray. The terrain pieces have some cool detail but the details themselves are quite smooth. The roughcoat would add some grit to the effect and with everything else roughcoated so far it would help tie them into the table. The pieces were then left to dry thoroughly for the rest of the afternoon.
Next was the basecoat of Brown. I still had plenty from what I recieved in the GW terrain painting pack I got at the start of this project.
I made the mistake of washing my brush out with water nd not removing the excess water adequately and ended up with this mess. This was remedied by letting it dry which took the majority of the day and repainting it. Thankfully I had only made the mistake with this one piece.
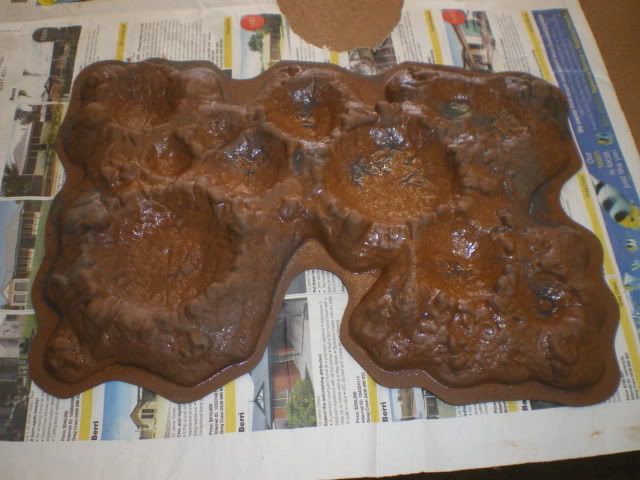
Heres a photo of a much better attempt about halfway through basecoating.
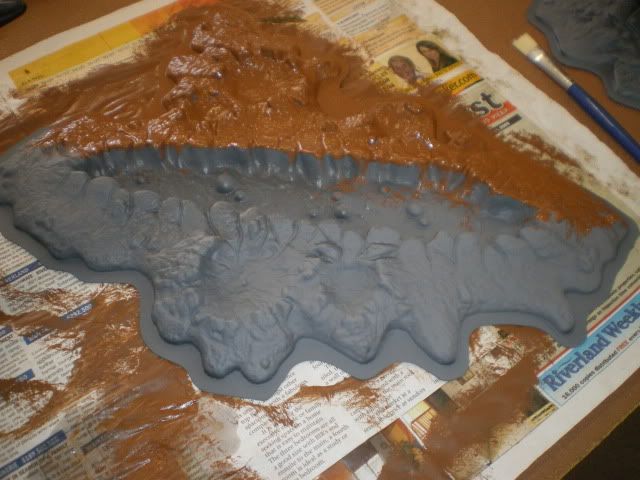
Some people may be wondering why I did not undercoat any of the parts of this project black before basecoating. There are two reasons for the ommision.
1. For myself the main reason why I undercoat is to 'key' the surface ready for painting. It has nothing to do with whether I want a dark or light color overall for the finish of a project. Though this sometimes plays a part when doing a miniature. The roughcoat does a very good 'keying' of the surface of the terrain. Betterso than a black spray (possibly something to do with the gritty finish)
2. The basecoat brown is very thick. Its a foundation paint so this colors the grey nicely.
Here are all the parts nice and brown except for a few areas which were left bare as they were to be other colors. Looks like I had done this part at the Dice and Deck!

Drybrushing was next and was done with the Ochre paint in exactly the same way that I had drybrushed the board itself. Remember to always have as little paint on your brush as possible. Too little is better than too much.


At around this stage I moved house and everything was put back for a while. I have now established my games room again and have even played a game on the table, but more on that later. Whats important is I have been able to continue!
So everything was basecoated and drybrushed. It was now time to add the grassy finish to have it all blend in.
First a half half mix of PVA glue and Water was painted onto the rims of all the craters. (Incredibly that little tube I got with the terrain painting pack is still going. Even after all of this there is still enough for me to finish the future additions to this project!!) The craters have a very large rim to them and just leaving them brown would look terrible on the table. If you were to be using these on a desert table or something similar you couls just texture these edges and paint them to match.
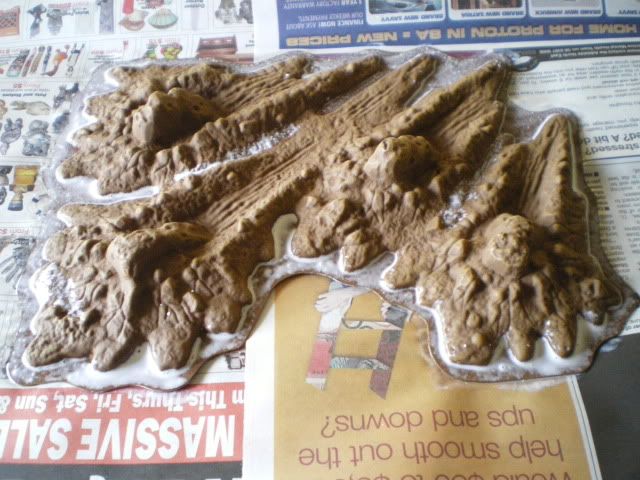
Next a light scattering of the lighter green static grass was added to break up what would otherwise be a rather plain green edge.
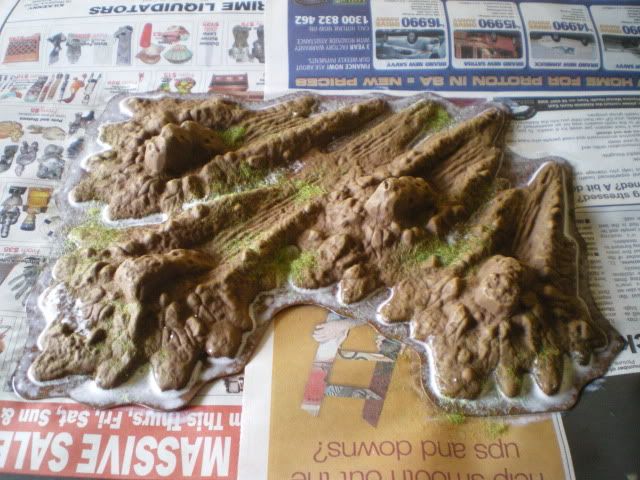
I then lierally added a really thick layer of the darker static grass over the top. This would form the main color with lighter patches showing through.

At this stage it is best to really scrutinised the work you have already done. Its very easy to miss a section or have added too little static grass. If this gets left you will end up with a bald spot which would really marr the finished piece. Below is a pic of one such spot
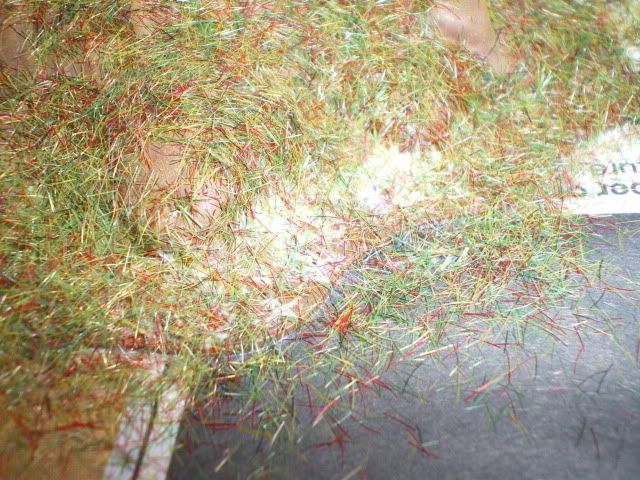
Fixing this is easy. Just add more grass!
With everything covered I patted it all down lightly to make sure the grass got pushed through the glue. I then left it for the time it took my washing machine to wash a load of clothes and then have me put them out to dry (ie about an hour). The excess was then shook off to reveal the following.

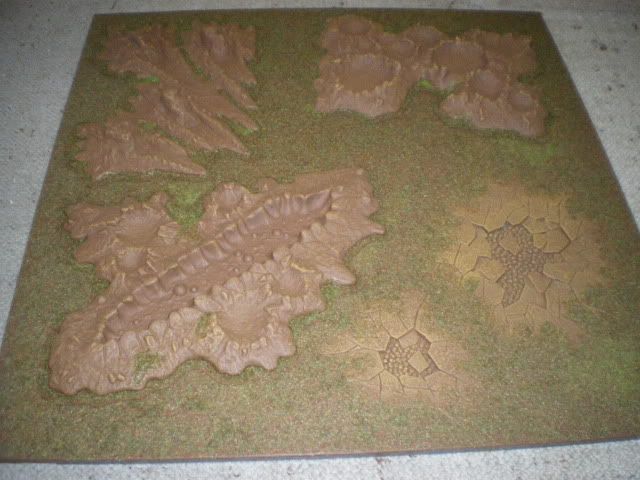
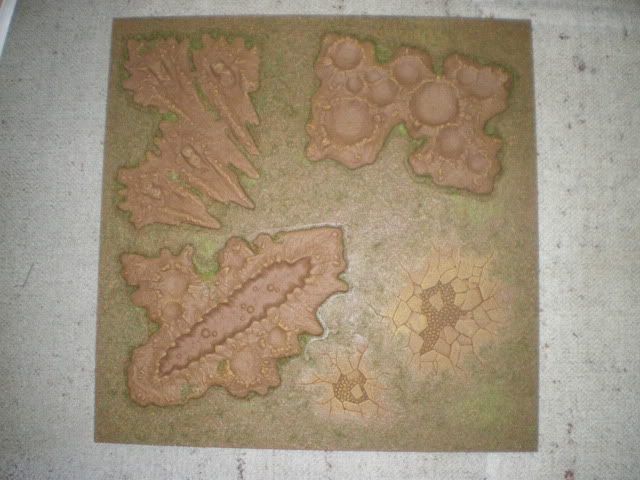
I am very pleased with how the flocking came out on these. When placed on one of the ROB board sections they blend in really well. I would have taken a picture of the board as a whole but the sections are currently laying on their sides next to the table. My entire 6x4 table area is currently being used for me to sort out my bits boxes. A massive job indeed.
But heres a pic of a section with some of the Blastscape set placed on top. Looks nice doesnt it?
 NEXT TIME
Its all in the details.
I start the task of detailing all the skulls, crashed ships, magma and final highlight drybrushing of all the rocky outcrops.
Still to come in the future is my Temple of Skulls and a fair whack of PlanetStrike bastions, defense lines, gun emplacements and a conversion for my Indominitable Fortress!